You’ve finally untangled the Christmas lights, figured out where you want them, and you’re ready to decorate the front of the house. Then you reach the brick around your front door and realize there’s nowhere obvious to put a hook.
Drilling holes for decorations that will come down after Christmas doesn’t sound particularly appealing. Fortunately, you may not need to. The trick is finding an attachment that actually suits your wall, rather than assuming every product labeled “brick clips” will work.
Before buying anything, take a closer look at the bricks and the spaces between them.
This article contains affiliate links. As an Amazon Associate I earn from qualifying purchases.
Table of Contents
Start With the Mortar Between Your Bricks
Look at the horizontal mortar joints. Does the mortar sit a little behind the front of the bricks, leaving their upper and lower edges exposed? Or is it almost level with the brick surface?
Many no-drill brick clips work by gripping the top and bottom edges of an individual brick. They need enough room around those edges to hold properly. If the mortar is flush with the brick, there may be nothing for the clip to catch.
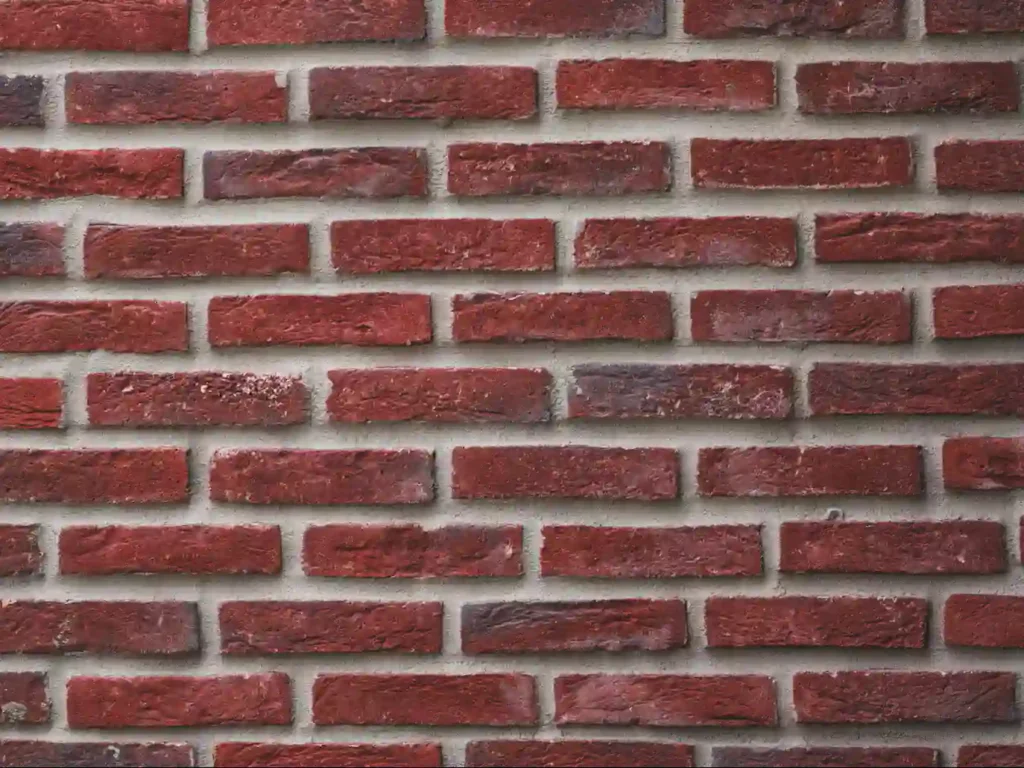
It’s also worth checking the condition of the brick itself. A solid, intact edge is quite different from one that’s already chipped or crumbling. And if your exterior has thin decorative brick facing rather than ordinary exposed brickwork, don’t assume the same clips will be suitable.
When Brick Clips Are Worth Trying
If your mortar is recessed and the bricks are in good condition, spring-style brick clips may be the simplest place to start.
They grip the exposed edges without screws or adhesive. That makes them useful for temporary decorations, provided you choose the correct size and the clips are suitable for the lights you’re hanging.
Measure the height of the brick itself, without including the mortar. Brick sizes aren’t identical everywhere, and buying clips that are slightly too small or too large can leave you with a pack you can’t use.
One example is Holiday Joy Brick Clips on Amazon (paid link). This particular listing specifies bricks approximately 2.12–2.36 inches (54–60 mm) high and mortar recessed by at least 1/8 inch (3 mm). Those aren’t universal measurements, so check the size requirements for whichever clips you choose.
With the lights unplugged, start by fitting one clip to an intact brick, following the instructions on the pack. Make sure it sits securely before adding the lights. Once you’re happy with the fit, position the remaining clips where the strand needs support, then gently settle the cord into place without stretching it tight.
A short strand running along the wall is different from a long cable stretched across an open space. Ordinary decorative brick clips shouldn’t be treated as anchors for tensioned lights unless they’re specifically rated for that use.
Keep the cord clear of sharp edges and make sure it isn’t pinched by the clips. If one doesn’t sit securely, take it off rather than trying to force it into place.
What If Your Brick Clips Won’t Fit?
You’ve found a product that promises to avoid drilling, only to discover your wall doesn’t have the right shape for it.
If the mortar is flush, don’t chip it away just to make room for a clip. That permanently changes the wall, which rather defeats the point of choosing a no-drill method.
You might also find that some bricks have suitable edges while others don’t, especially around an older doorway or an arch. There’s no reason to force the same attachment onto every part of the wall. Instead, look at what surrounds the area you want to decorate.
A finished door frame, suitable window trim, porch post, or accessible gutter may give you another option. You might not attach every section directly to the brick, but you can still create a lovely outline around the entrance.
Each surface needs its own suitable attachment. A clip designed for a gutter isn’t automatically appropriate for roof tiles, and an adhesive hook that works on finished trim won’t necessarily stick to rough masonry.
Try Outdoor Light Clips on Suitable Smooth Trim
If the brick itself won’t cooperate, smooth exterior trim may be worth a closer look.
Command Outdoor Light Clips on Amazon (paid link) are designed for certain clean, smooth, finished surfaces. They can be useful for arranging small Christmas light strands around an appropriate door surround or window area without making holes.
They’re not meant for sticking directly onto ordinary rough brick.
Even on an approved surface, the finish needs to be sound, clean, and dry. Follow the instructions for your particular pack, including the waiting period before hanging the lights. The Command outdoor light clips linked above call for a one-hour wait after application and suggest approximately one clip for every two feet (60 cm) of lights. Your light set and installation may have additional support requirements.
Think about taking them down, too. Weak or peeling paint can come away during removal, especially if an adhesive strip is pulled incorrectly. A removable hook isn’t a promise that every painted surface will be left untouched.
If there’s no suitable trim around your doorway, consider changing the lighting arrangement rather than trying to make adhesive work on the brick.
Work With the Shape of Your Entrance
A straight stretch of brick is usually easier to decorate than a doorway with several corners, an arch, or a window that opens outwards.
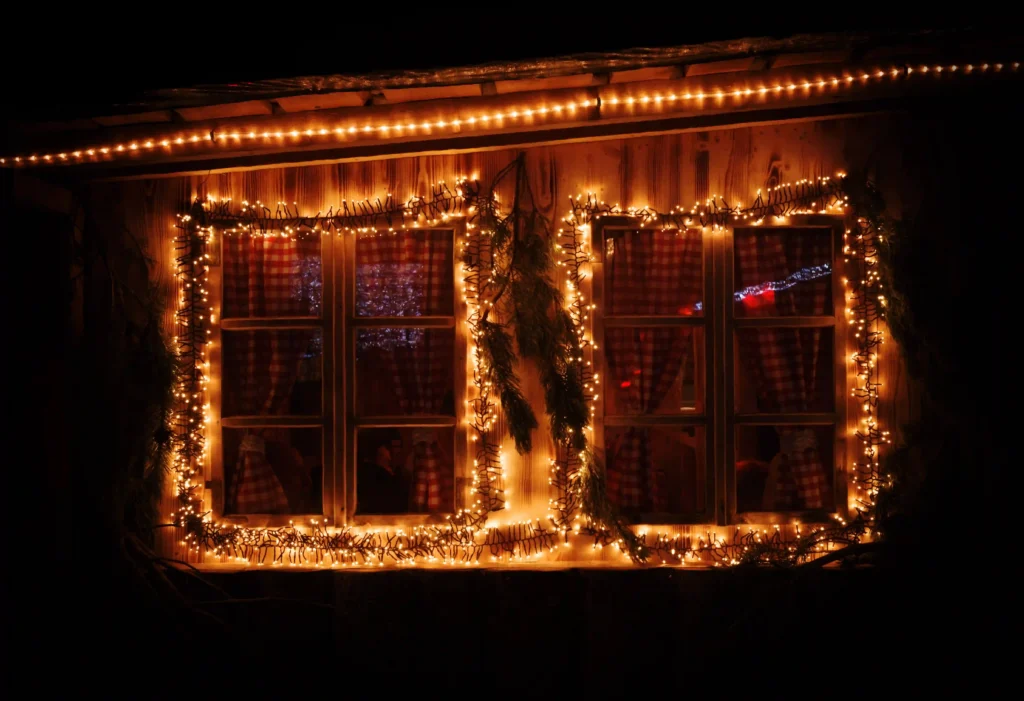
Before attaching anything, lay out the route you want the lights to follow. Notice where the cord will turn, which sections will need extra support, and whether anything will interfere with a door or window opening.
You may get a neater result by following the sides and top of the doorway rather than stretching one long strand tightly from corner to corner.
Keep the lights clear of window seals, vents, and brick drainage openings. Those little gaps aren’t always there by accident.
It also helps to stand back and look at the entrance from the driveway or pavement. Something that looks perfectly spaced up close can feel uneven from farther away.
Sometimes moving the lights slightly or leaving one section undecorated creates a better result than adding more clips.

Make Sure Your Outdoor Lights Are Safe to Use
It’s easy to get caught up in making the lights look good around the brick and leave the power connection until last.
Check that your lights are intended for outdoor use. The plug, transformer, controller, and connections also need to be suitable for wherever they’ll be positioned. Some outdoor light sets still require their power supplies to stay indoors or in another protected location.
Use the electrical protection required for your location, such as an appropriate GFCI or RCD. Don’t squeeze an extension cord through a closing door or window, and don’t leave electrical connections where water can collect.
For more guidance on outdoor electrical safety, see the Electrical Safety Foundation International or Electrical Safety First.
If your lighting plan involves working high above the ground or near overhead power lines, reconsider whether it’s a safe DIY job. A lower display or professional installation may be the better option.
Taking the Lights Down Matters, Too
When Christmas is over, resist the temptation to pull everything off in one go. Disconnect the power first, then remove the lights and attachments according to their instructions. Spring clips generally have a release mechanism, while removable adhesive strips need to be stretched in a particular direction.
If something feels stuck, don’t pry against a fragile brick edge or pull hard enough to lift the paint.
It’s worth checking your rental agreement or building rules before decorating a shared or rented exterior, too. No drilling doesn’t necessarily mean every attachment method is permitted.
So, What’s the Best Way to Hang Christmas Lights on Brick?
If your bricks have sound, exposed edges and recessed mortar, properly sized brick clips are worth considering. If those clips have nothing to grip, suitable smooth trim nearby may give you another way to hang the lights. And if neither surface works, it’s fine to rethink the layout.
You don’t need to cover every inch of brick to make the front of your home feel festive. A simple outline around the entrance, a little lighting beneath a suitable porch, or a display that uses existing supports can look just as inviting.
The goal is to enjoy the lights throughout Christmas—and take them down afterwards without wishing you’d left the wall alone.